How to Resize a Photo on Mac
Resizing a picture changes the resolution of the image, either increasing or decreasing it as desired by the user. On the Mac, one of the simplest ways to resize a photo is using the bundled Preview application, which is available in all versions of macOS and Mac OS X.
There are many reasons to resize pictures, whether to make them better fit into a document, webpage, email, as a wallpaper, or for many other purposes. Additionally, resizing a picture can be useful to shrink down the file size of an image as well, since a smaller resolution tends to have a smaller file size footprint. Whatever the purpose, we’ll show you the fastest way to resize a photo on the Mac using Preview.
Note the method we are covering here aims to resize a single picture file, if you have multiple images to resize into the same dimensions you’d likely want to use this batch resize method for Mac instead.
How to Resize a Photo on Mac
In this walkthrough we will take a wide panorama image from the Grand Canyon and resize it from a very large wide resolution to a smaller image resolution, reducing the image dimensions and file size in the process.
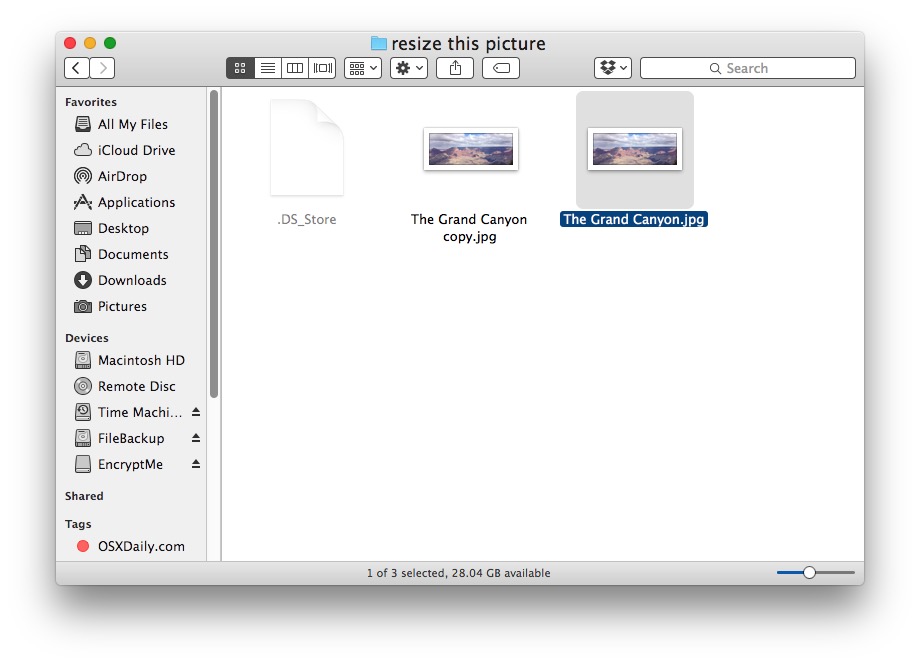
- Locate the picture in the Mac file system that you want to resize
- Open the image file you want to resize into Preview on the Mac, since Preview is typically the default image viewer you can just double-click a picture in Finder to launch into it
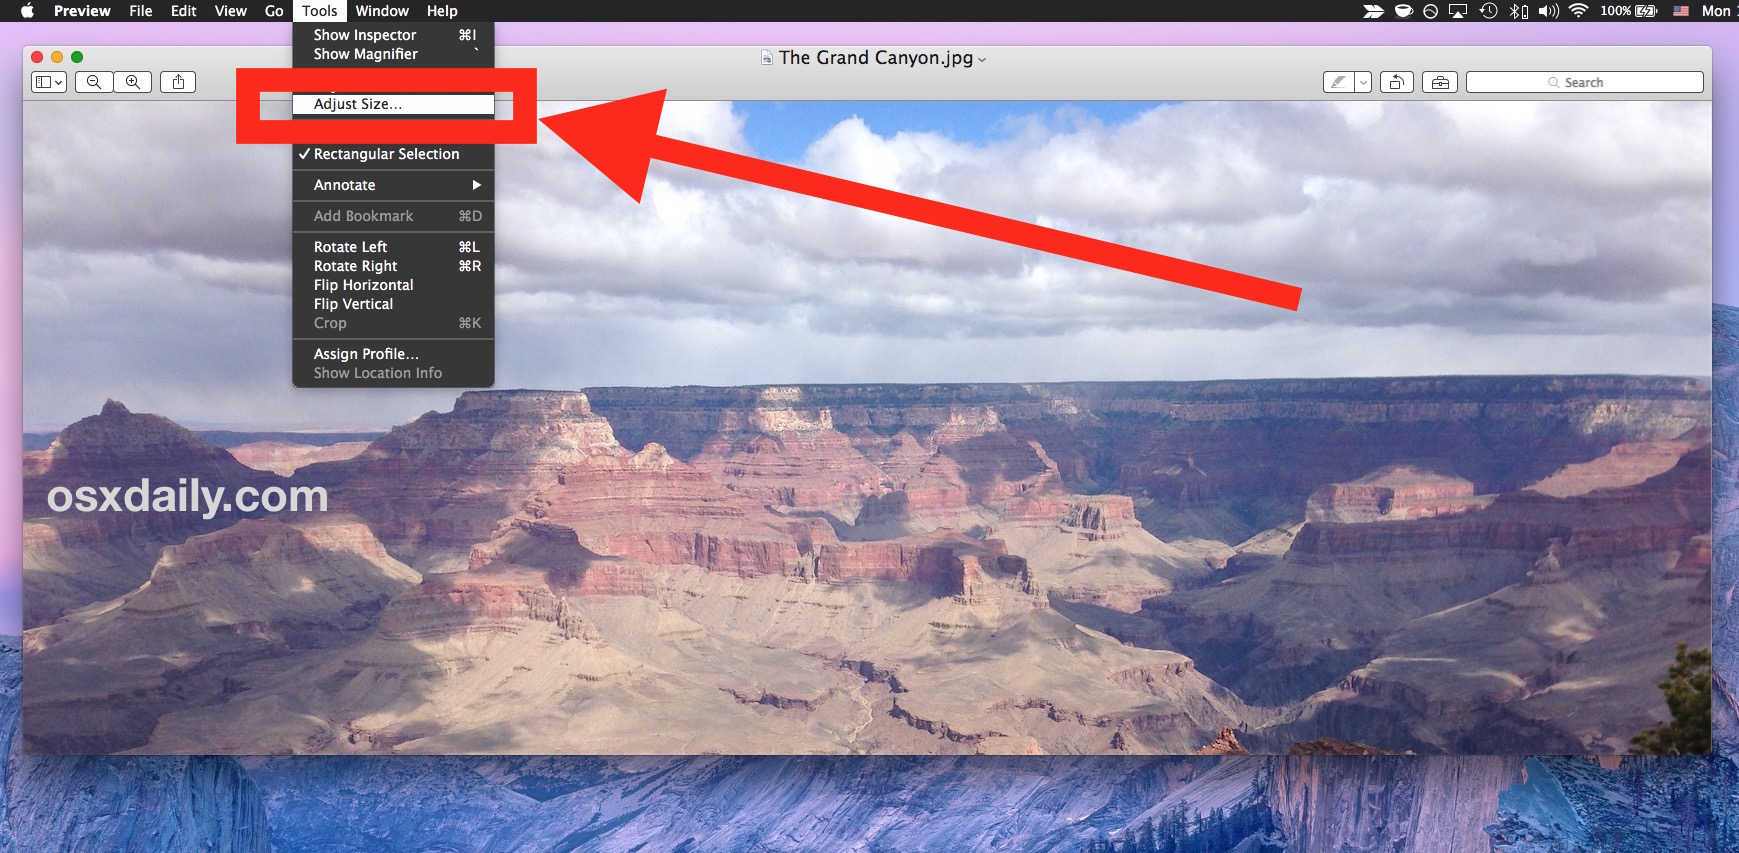
- Pull down the “Tools” menu and choose “Adjust Size”
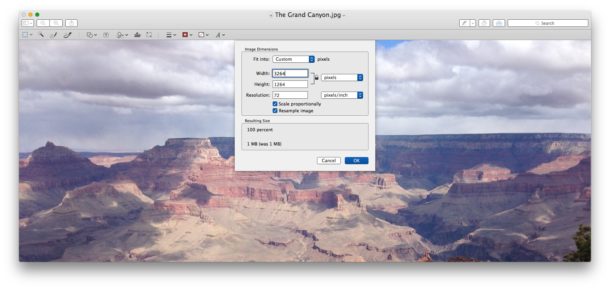
- At the ‘Image Dimensions’ screen choose the new width and height in pixels (or inches, cm, mm, points, as a percent) to resize the picture to, to scale and resize proportionally be sure the “Scale proportionally” option is checked – click on “OK” when satisfied with the new image dimensions to resize to
- The image in Preview will instantly resize to the resolution dimensions chosen in the prior step, if unsatisfied repeat the above steps to resize the picture again, otherwise move to the next step
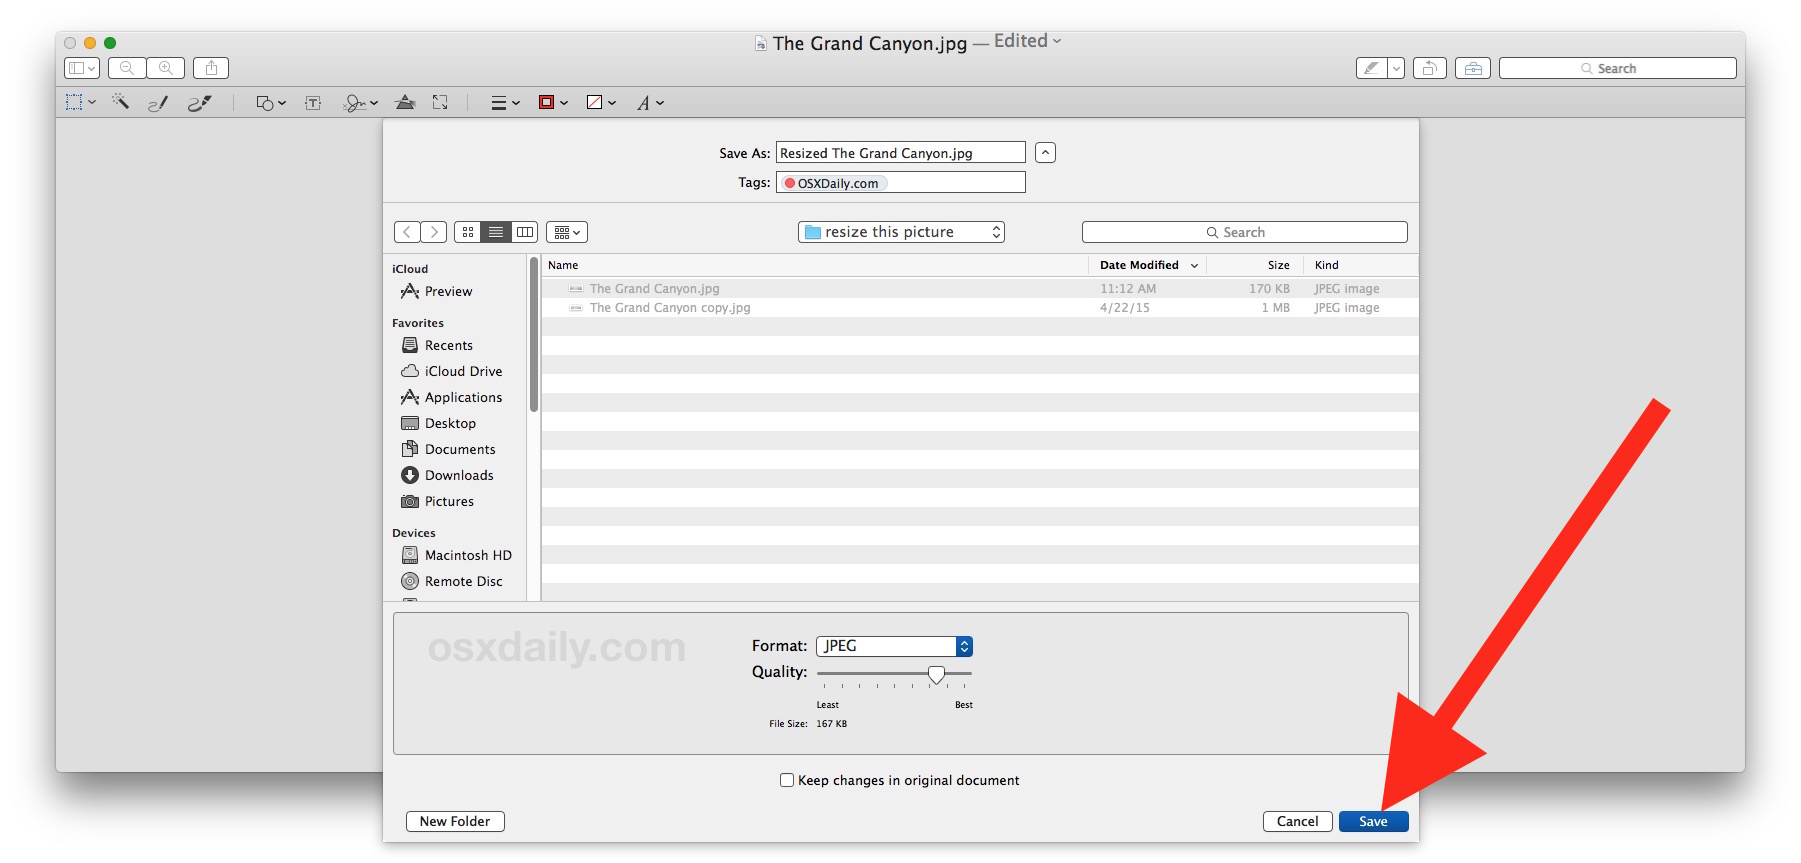
- Once satisfied with the resized picture, go to the “File” menu and choose either “Save” to save the resized image over the existing file, or choose “Save As” to save the freshly resized image as a new separate image file
- Assuming you chose “Save As” pick a new file name, choose a file destination, select the appropriate file format, and optionally adjust the image quality, then click on “Save” to save the resized image


The newly resized picture will be where you saved it to the Mac Finder, or it will be the old file if you saved over the existing image.
Remember you can both increase an image resolution or decrease an image resolution by resizing this way. If you increase an images dimensions, the file size increases, whereas if you decrease a picture dimension the file size typically decreases.
Note the ‘Fit into’ options give many default new file sizes to choose, but we opted for a custom image dimension to resize the picture to here. Similarly, you certainly don’t have to use the ‘Scale proportionally” option but since most users don’t want to skew their resized image it is typically recommended to use proportional resizing.
This method works to resize an image in every version of macOS or Mac OS X ever released, since Preview has shipped with the Mac since the beginning. The video below demonstrates image resizing in Preview for macOS Sierra but it exists in El Capitan, Yosemite, Mavericks, Snow Leopard, Tiger, and much more:
The Preview app is often under appreciated, it is impressively full featured though many Mac users write it off as a simple image viewer. In fact, Preview app for Mac has many advanced image adjustments and editing functionalities, including the ability to increase color saturation, convert images to black and white, crop pictures, batch resize multiple images, batch convert image file types, and much more. Users who want to delve deeper into the apps capabilities can browse our articles on Preview for Mac here.
Do you know of another better way to resize pictures on a Mac? Have any specific resizing tips? Let us know in the comments.

When i try to make it as large as my desktop it becomes all poorly made how would one fix this?
If the image looks low quality as a background picture, it is likely low resolution. The image must be high resolution to look sharp as a desktop background.
If you resize an image here in Preview does that remain the default then? I did resize an image to 11×14 and now it seems every image that I want to have printed won’t print larger than 11×14 because ‘resolution is too low’. How do I get it back to the original defaults?
this is absolutely no help!
can you resize a photo to 740 x 740 pixels on the mac
great. it was quite helpful
Never knew that it has this option too. Phew, I was looking for the website to resize.
Thanks for the article, and also the video.
I’m wondering if this is how I can resize clip art? I’m very computer stupid. Lol.
Thanks for any help!
I’ve found that, since I edit a lot of pictures for use in a printed newsletter, I get the best results in Preview>Tools>Adjust size by the following:
1. Change the DPI value to what you need for publication (I use 300 or higher).
2. Go to sizing and create the finished size you want.
3. Execute the process.
If you resize and then change the DPI you get a totally and sometimes surprising different result.
Ahan. I didn’t knew about this. I was previously using the crop function as a resize. It at least allowed me to get hands on videos without wasting time on loading other apps for resize.
If you need to do this often, set up an Automator service.
You can resize a photo in the Photos app, either while using “Share” or while in the process of exporting an image from Photos. Of course “Crop” is closely related to, and commonly used in conjunction with, resizing.
Great tip Dick, never noticed the “Export” option in Photos allows for resizing to custom sizes.
Thank you for the article. If I am correct, the article assumes that one has a picture file in Finder. How does one re-size a picture that is already in Photos.
Thank you.
Mel:
A little more convoluted workflow, but you could also drag a picture out of Photos to Desktop. Use Preview as described above. Rename resized picture (or not) and drag back into (import into) Photos.